Top 5 Drywall Joint Compound Mistakes & How to Avoid Them
Drywall joint compound plays a crucial role in achieving an even, seamless finish for your walls and ceilings. However, many professionals and homeowners need help with issues stemming from common application mistakes. Avoiding these pitfalls results in higher quality finished results.
Also called mud, joint compound is a paste used for finishing and concealing gypsum board seams and imperfections to create an even, uniform surface ready for decoration. Understanding proper usage requires knowing where inexperienced users need to improve. This guide outlines five key areas to pay attention to achieve professional-looking results on your next drywall project.
Not Preparing the Drywall Surface Properly
Ensuring the underlying drywall surface is properly prepared before applying joint compound is a crucial first step many miss. Drywall paper and gypsum board beneath the compound layers must be sanded smooth. Any indentations wider than 1/32” should be pre-filled so they don’t telegraph through the finish. Rushing this step risks visible imperfections.
Applying the Compound Unevenly
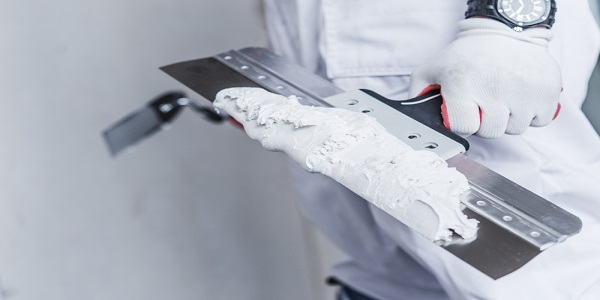
Joint compound should be spread uniformly in a thin layer across the entire surface area. Applying too much product in some spots and too little in others will leave visible ridges and valleys in the finished surface. Use a wide, flexible drywall knife and spread the compound in smooth, controlled strokes. Avoid thick globs or bare patches, which may lead to cracks and extra sanding later.
Not Allowing Proper Drying Time
Each coat needs some time to dry before you can move on to the next one. Drywall finishing involves multiple stages, transitioning from wet to dry to fully hardened. It’s important to allow each stage to complete before sanding or fully adding the next layers. Rushing leads to bubbles, delamination between coats, cracks, and other long-term problems.
Choosing the Right Drywall Knife
Drywall knives come in varying sizes designed for different applications. Wide knives are your go-to for initial coats and large areas, while smaller, flexible ones are perfect for tackling corners, edges, and those tricky details. Finish coats go on best with 4-6” knives. Hence, choosing the wrong knife size makes application difficult and produces uneven finishes requiring extensive sanding.
Not Sanding Correctly
Sanding is the final step to achieving that smooth, paint-ready surface. Light, circular sanding works best for achieving such a finish. Harsh back-and-forth abrasion creates visible scratch marks. Use fine-grit sandpaper with a light touch, applying even pressure in circular motions. It’s easy to overdo it and unevenly sand away too much material or damage paper around the joints. Careful, gentle sanding prevents these issues and provides professional-grade results.
Flawless Finish with Mada Gypsum
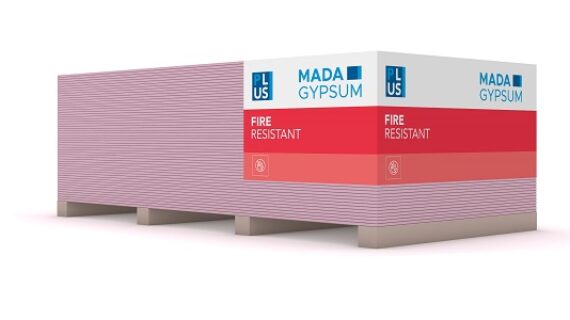
Avoiding common mistakes with drywall joint compounds leads to superior finished drywall surfaces ready for decoration. Careful surface preparation, even compound application in proper thicknesses, allowing full drying times between coats, using the right knives for each layer, and gentle hand sanding are the keys to success. And when it comes to choosing the best drywall joint compound products, look no further than Mada Gypsum.
We offer a variety of high-quality compounds designed for different applications, ensuring you have the perfect tools for your project. Get access to helpful resources and competitive prices on products.
Visit our website or call us at +966 14 325 3253 to find the perfect product for your next project.


