The Most Common Drywall Installation Mistakes to Avoid
Drywall installation looks simple until you try it. Then you discover that getting smooth, flat walls requires more skill than most people realize. The difference between professional-looking results and obvious amateur work often comes down to avoiding a handful of common mistakes.
Here’s what’s really frustrating: most drywall installation mistakes are completely avoidable. They’re not the result of complex technical challenges or expensive equipment requirements. They’re basic errors that happen when people don’t understand the fundamentals or try to rush through the process.
Incorrect Hanging of Drywall
The way drywall is positioned and oriented on the wall has a huge impact on the final appearance and structural performance of the wall system. Getting this wrong creates problems that are difficult to fix later.
Horizontal versus vertical orientation is one of the most debated aspects of drywall installation. The general rule is to hang drywall perpendicular to the framing members, which usually means horizontal installation on walls with vertical studs. Horizontal installation reduces the number of joints and creates stronger connections.
However, vertical installation makes sense in certain situations, particularly on walls taller than 8 feet (2.4m) where horizontal installation would require multiple horizontal joints. The key is understanding when each approach is appropriate.
Staggering joints is critical for both structural integrity and appearance. Joints should never line up in a straight line across multiple sheets. This creates weak points in the wall system and makes joint treatment much more difficult.
Starting from the top is almost always the correct approach for wall installation. The top sheet should be installed first, butted tightly against the ceiling, with the bottom sheet installed afterward. This ensures that the most visible joint—the one at eye level—is properly supported.
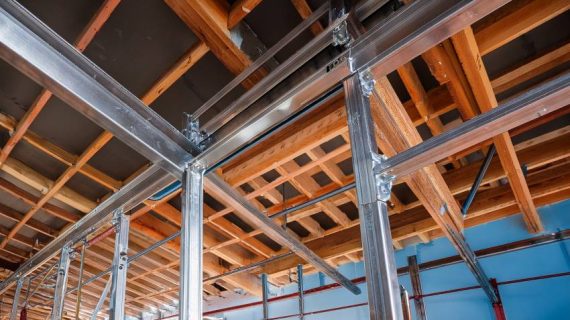
Improper Drywall Framing
Drywall installation problems often start with framing issues that make proper installation difficult. While drywall installers don’t always control the framing, understanding these issues helps identify problems.
Stud spacing irregularities create major installation challenges. Standard 40cm or 60cm on-center spacing allows drywall sheets to land properly on framing members. When studs are out of position, drywall edges may not have adequate support.
Bowed or twisted framing members make it impossible to achieve flat wall surfaces. Even perfectly installed drywall will follow the contours of the framing, creating wavy walls.
Missing blocking at drywall joints is a common oversight that creates weak points. Every drywall edge must be supported by solid framing.
Electrical and plumbing rough-in problems can interfere with drywall installation. Electrical boxes that protrude too far or plumbing that’s not properly recessed create installation challenges.
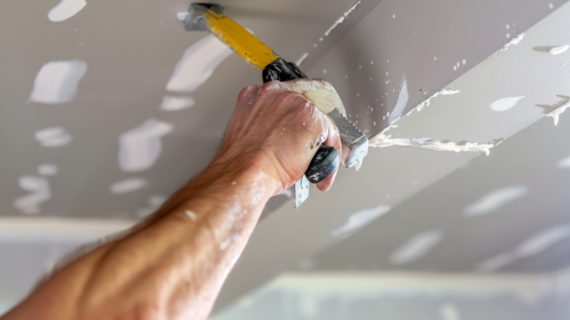
Drywall Screwing and Fastening Mistakes
Proper fastening is critical for drywall performance, but it’s an area where many installers make costly mistakes. The goal is to secure the drywall firmly without damaging the board.
Screw depth is one of the most common fastening mistakes. Screws driven too deep break the paper face and reduce holding power. Screws not driven deep enough create bumps. The screw head should be just below the surface, creating a slight dimple without breaking the paper.
Screw spacing affects both structural performance and finishing quality. Screws should be placed at least 3/8 inch from drywall edges and spaced according to code requirements—typically 12 inches on center on walls.
Using the wrong fasteners creates long-term problems. Different screw types are designed for different framing materials. Using wood screws in metal framing reduces holding power.
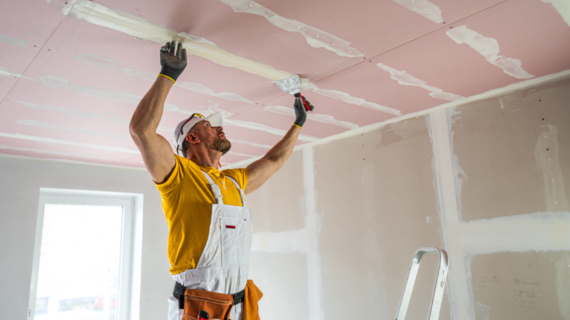
Wrong Application of Joint Compound
Joint treatment is where drywall installation success or failure becomes most obvious. Poor joint compound application creates visible seams and rough textures.
Insufficient compound coverage is a common mistake that leaves joints visible after painting. Each coat should extend beyond the previous coat, with the final coat feathered well beyond the joint area.
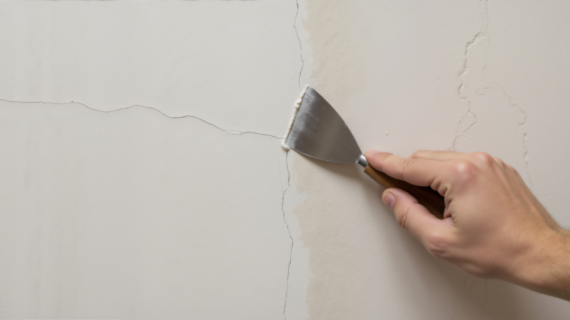
Applying compound too thick creates problems with drying time and cracking. Multiple thin coats produce better results than fewer thick coats.
Not allowing adequate drying time between coats leads to compound that doesn’t adhere properly. Each coat must be completely dry before the next coat is applied.
Companies like Mada Gypsum provide technical support and installation guidelines that help contractors avoid these common mistakes and achieve professional results. Contact us for more information today.